Hem Jeans

If you follow the steps below, you'll learn how to hem jeans so that they look much like the original. The key is to make the final topstitching 1/2" to 5/8" from the bottom edge. This skinny hem is more attractive and looks less like it's been altered.
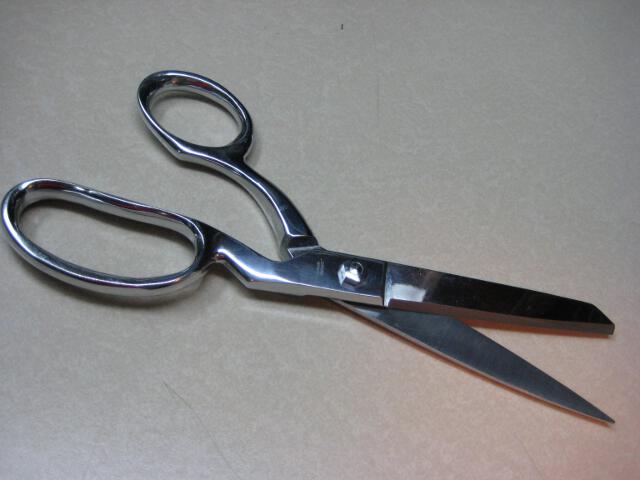
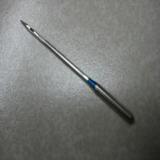
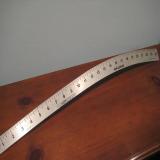
Scissors Jean Needle Hip Curve Ruler
Scissors
Heavy Duty Needle
Ruler

mark new jean hem line
STEP ONE:
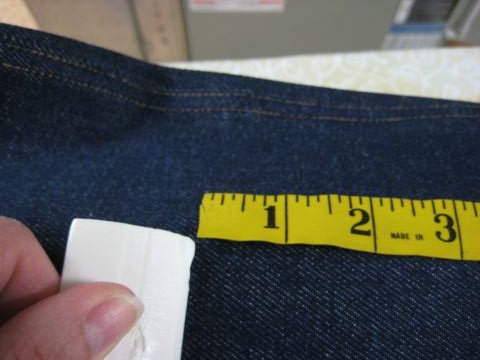
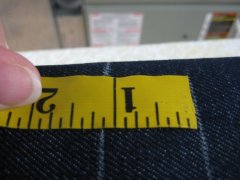
Measure the amount to be shortened Mark that from the bottom up. I make a tailor's chalk line around the entire leg.
Image Coming Soon
STEP TWO:
Rip out the old stitching.
Note:
If the amount you are shortening is greater than 1¼", you can skip this step.
Jean Hem Allowance
STEP THREE:
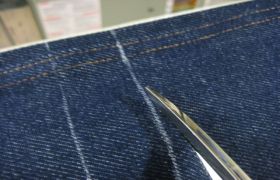
Mark 1⅛" down from the chalk hem line to get your cutting line. Mark all the way around the leg. Use sleeve board for accuracy.
cut new jean hem line
STEP FOUR:
Cut along this bottom chalk line. Now each leg has a line marking the new hem line. The 1⅛" becomes your hem allowance.
press new jean hem line
STEP FIVE:
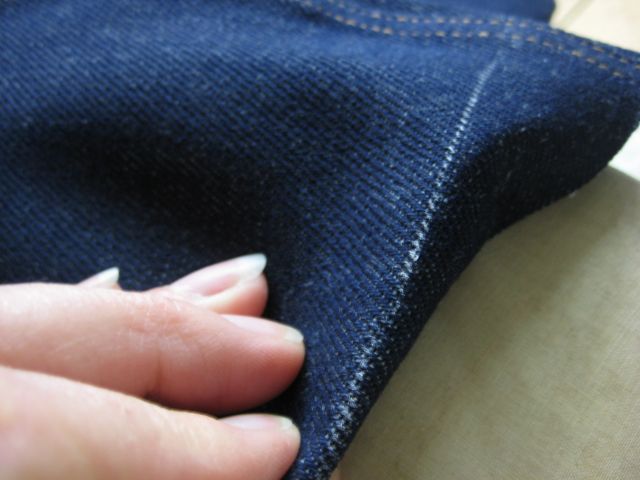
Fold the hem allowance along the chalk line toward the inside of the pants. Press well.
Jean Hem Allowance
STEP SIX:
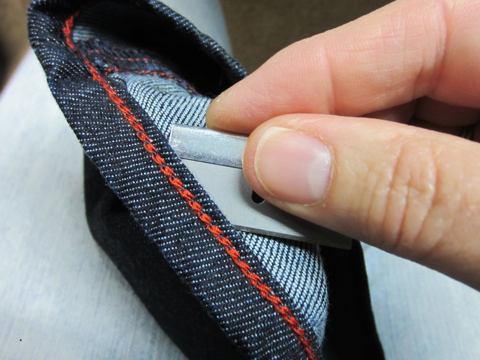
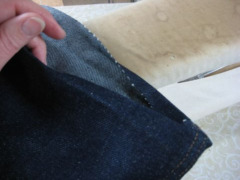
The 1⅛" hem needs to be folded in half again, around ½" from the edge. This hides the raw edges inside the hem. Press. Then fold this hem allowance up once on the ½" fold line and again on the 1⅛" fold line. Press.
stitch new jean hem
STEP SEVEN:
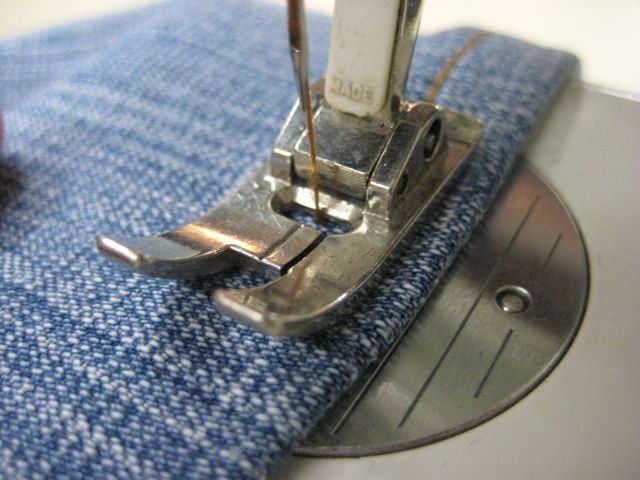
Stitch about ½" from the bottom edge. As shown here, the stitching is done on the outside. If you feel more comfortable, do this with the jeans inside out.
finished jean hem
STEP EIGHT:
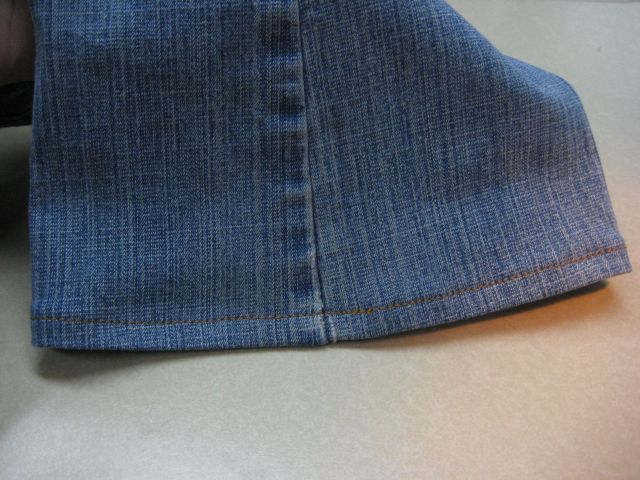
Your finished jean hem will look like this. Use jean thread and a jean needle for best results. You may also need a hump jumper when stitching over those thick inseams and outseams.

Return from Hem Jeans to Alterations Home Page