Replace Bra Straps
How do you keep bra straps looking fresh? Replacing them is quick and
easy and will save you the cost of a new bra. You may have a bra that
still fits fine, but the straps are worn out or dirty. You simply can't
have this nowadays, when fashions often show them peeking out from
the neckline of your tops. Why not just replace the straps? It's so
easy even a beginner can do it. And if you're doing this for a client,
you do not need to fit her either. The replacement straps come in a
standard length. They are adjustable, so the bra will fit just like the
original.
|
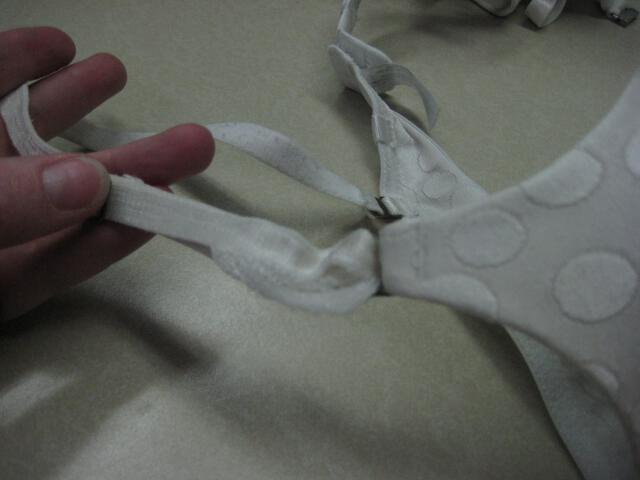
STEP ONE: OBSERVE
Here is the fraying bra strap. The rest of the bra is in good shape. This bra is convertible in the back, but the straps are permanently attached in the front.
|
|
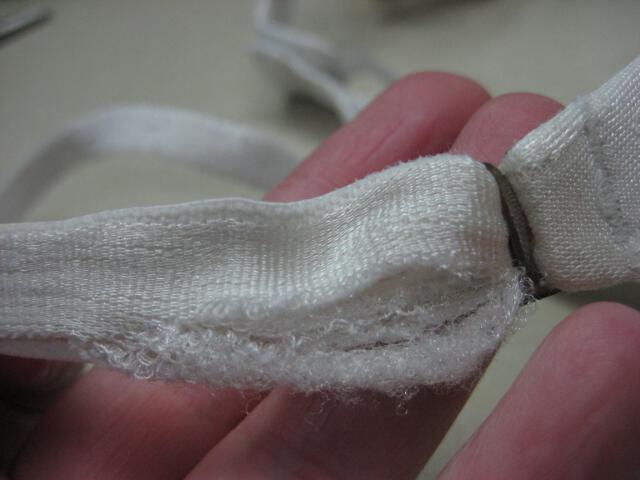
STEP TWO:
See the tiny zigzag stitches to the right of my fingers? Remove them. In the back of the bra, you can snip the strap and remove it from the loop.
|
|
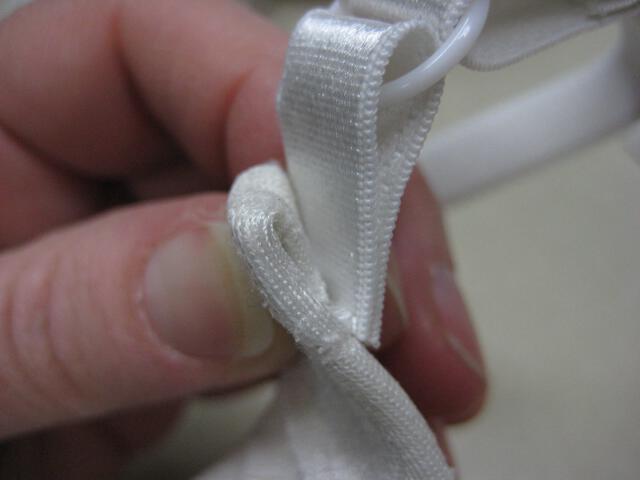
STEP THREE:
The new strap has a ring at one end. Match that to the upper bra area. Pin, making sure the side edges are as even as possible. Stitch at the top edge of the bra, then down about ¼". Use a straight stitch.
|
|
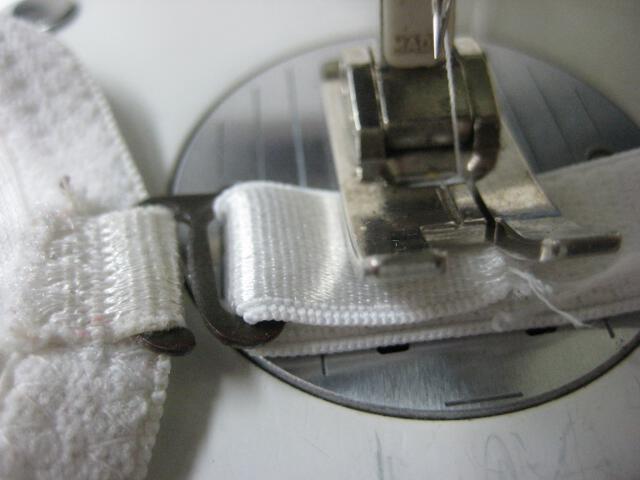
STEP FOUR:
The back end of the bra contains a loop. Thread the other side of the bra strap through this loop, fold it up about ½" and then stitch it into place. Use a tiny zigzag stitch.
|
|
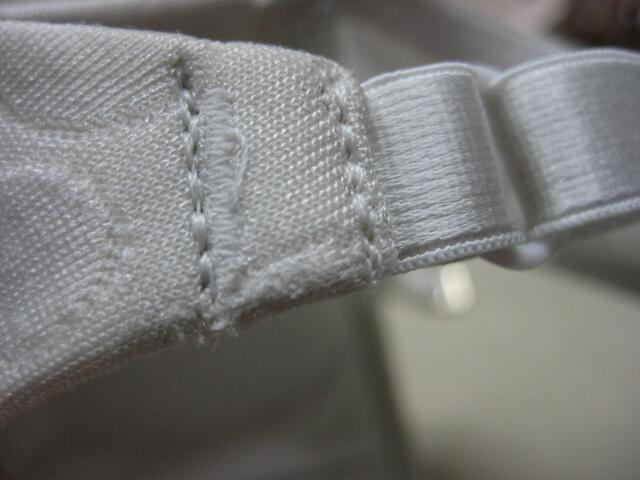
STEP FIVE:
Here is a close up of the front of the bra, right side up. The strap is evenly placed, the stitches are straight and even. I stitched back and forth several times for strength.
|
|
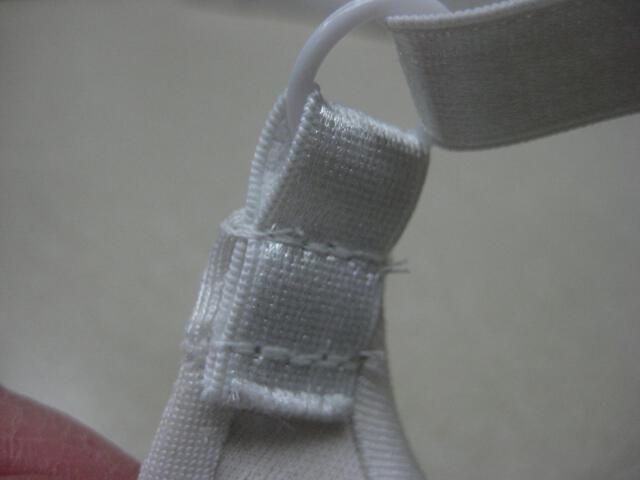
STEP SIX:
Here is a close up of the INSIDE of the strap, showing how it attaches to the top edge of the bra front.
|
|
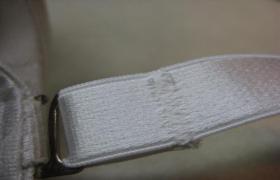
STEP SEVEN:
Here you see the right side of the strap in the back. It is looped through the existing ring, then stitched with a tiny zigzag.
|
|
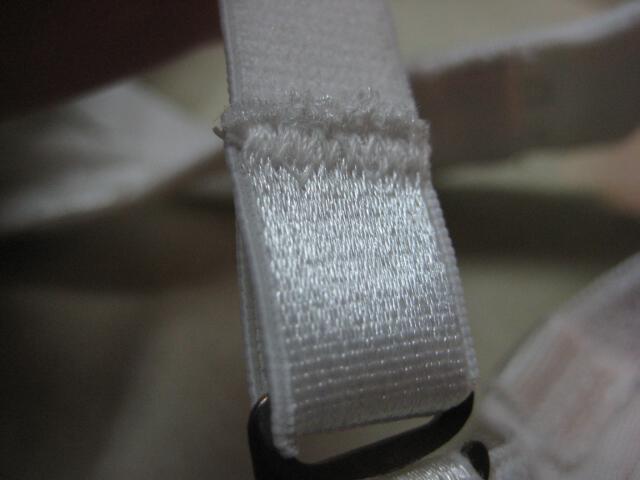
STEP EIGHT:
Here is the INSIDE view of the back of the bra. The zigzag stitches are close to the raw edges of the strap, but far enough that they won't allow it to fray and separate.
|
Return from Replace Your Bra Straps to Alterations Home Page


