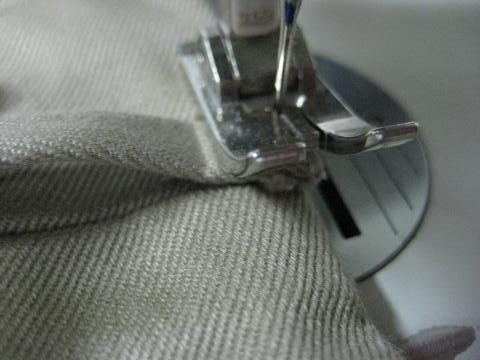
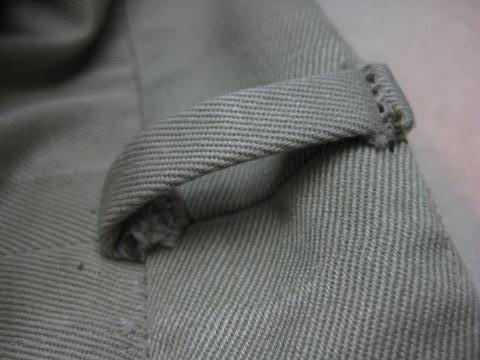
Let Out Waist in Mens Dress Pants

Altering mens dress pants is one of the easiest alterations you can do. The center back seam is constructed so that it can be adjusted.. Usually there is a center back seam in the waistband also, which makes letting out or taking in a pretty basic alteration. Follow along as I demonstrate the details of this simple alteration.

A Note About Terms I've Used ...
There are not too many technical words associated with learning how to let out pants. It may help you to know these terms, though...

Center Back Seam is the seam that goes from the seat, up the back side to the waistband. In mens pants, it usually extends into the waistband also.

Waistband is the band (usually 1½" or so)that attaches to the body of the pants. It includes a closure, such as a hook and eye or button in the front.


Here's What You'll Need ...
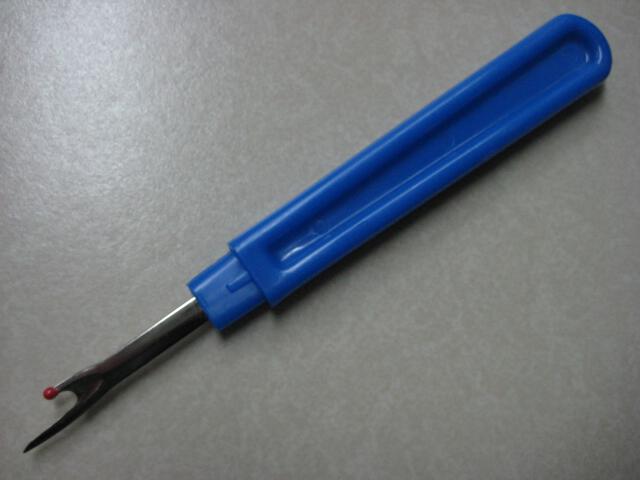
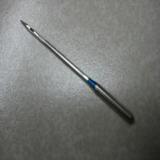
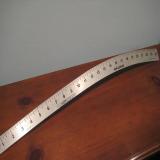
Scissors Jean Needle Hip Curve Ruler
Seam Ripper
Heavy Duty Needle
Ruler

Chart One: Rip Old Stitching and Replace with New Seam
Mens dress pants
STEP ONE: OBSERVE

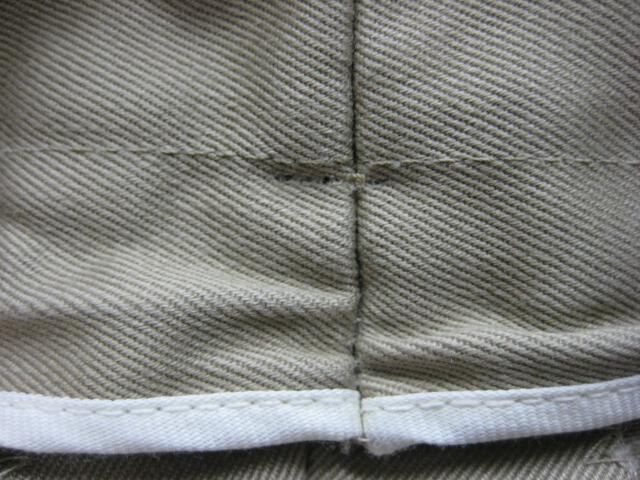
Here is the inside of the waistband of the mens dress pants I am going to let out. Part of the beltloop has already been removed. The white edge is a seam finish you find on some pants.
Mens dress pants
STEP TWO
Here you see the outside view of the pants. The beltloop stitches have been removed at the bottom. Now it is time to remove the stitching that attaches it to the pants. Remove all broken threads too.
Mens dress pants
STEP THREE
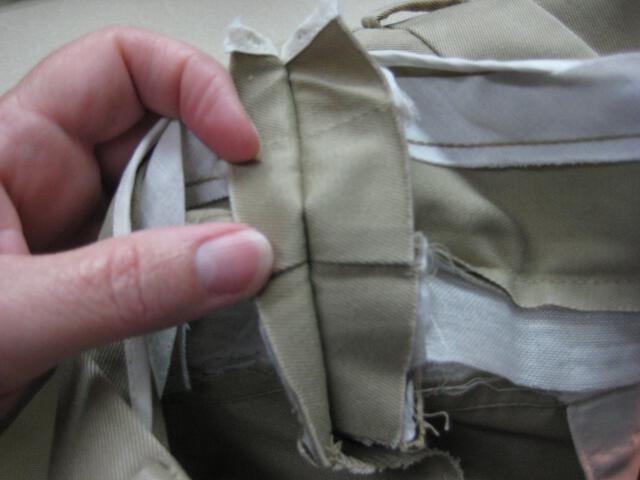
Now you can open up the waistband completely. You can see how much leftover seam there is on the inside. Mens dress pants usually have a generous seam allowance in the center back.
Mens dress pants
STEP FOUR


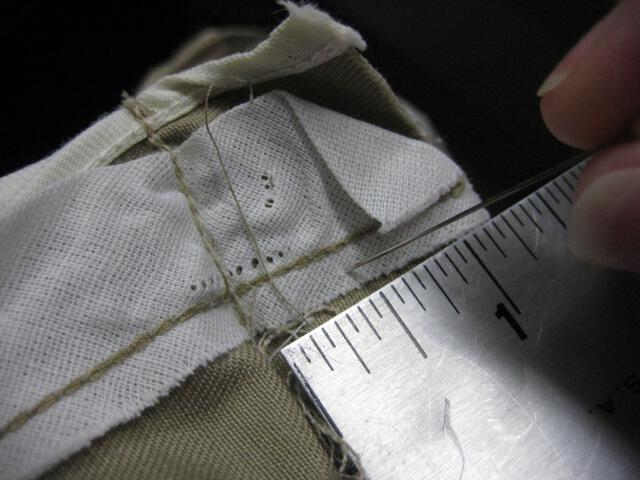
Time to mark your new stitch line. I use a ruler and a line of pins to mark. You may want to use tailors chalk or a marking pen.
Mens dress pants
STEP FIVE
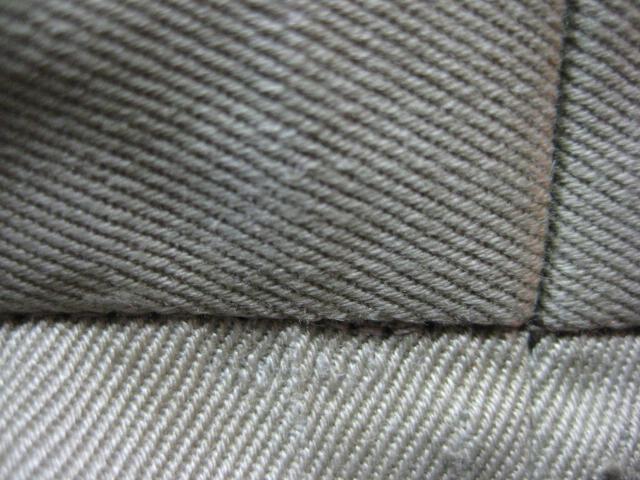
Although this step can be done before Step 4, I listed it here because it is a form of a double check. You must make sure the horizontal seam that connects the waistband to the pants is matched up before you sew.
Mens dress pants
STEP SIX
Men's pant seam allowance on mens dress pants is often quite a lot. That makes it critical that you line this seam up. Use this photo as a guide and then pin into place. You want to see results like the photo in Step 10.
Mens dress pants
STEP SEVEN
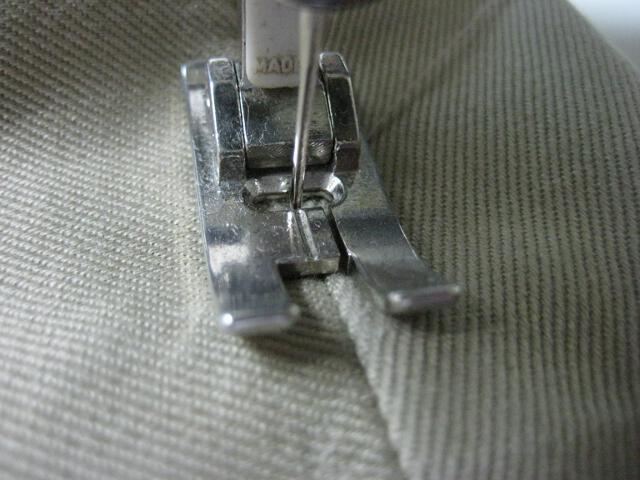
Using a heavy duty needle, stitch along the markings that you made in Step 4. My markings are pins, Yours may be basting stitches, a chalkline or marker lines. Taper into the existing seamline.
Mens dress pants
STEP EIGHT
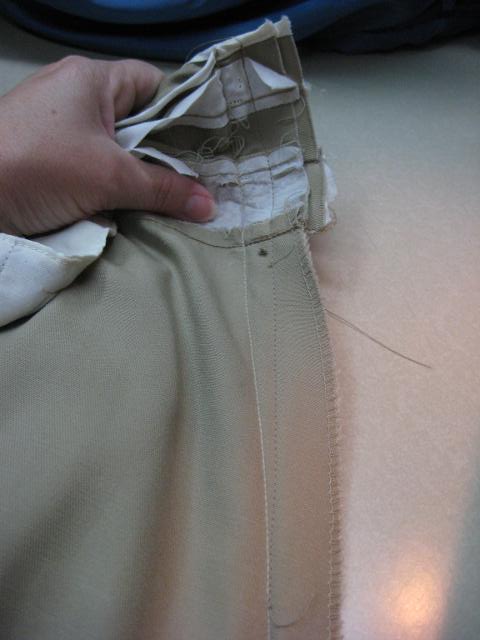
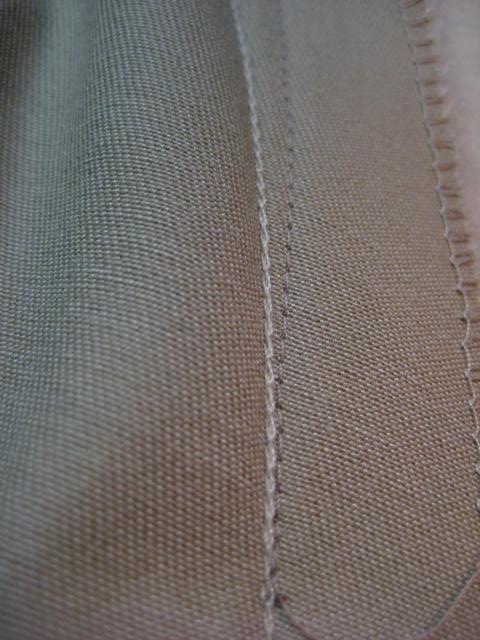
Here you see the new seam line and the old one. Notice that I tapered the new stitching into the old very gradually. This prevents an embarrassing bubble in the seat.
Mens dress pants
STEP NINE
The tapering of the seamline shows very well here. The more you let out the seam, the longer you have to taper the seamline properly. Remove the original stitch line and pick out the threads.
Mens dress pants
STEP TEN
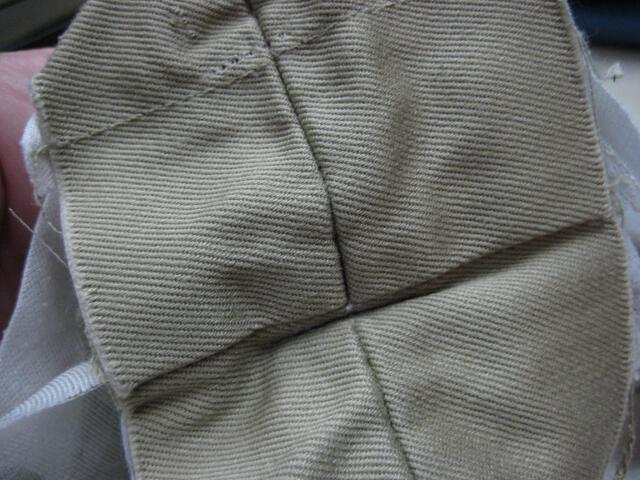
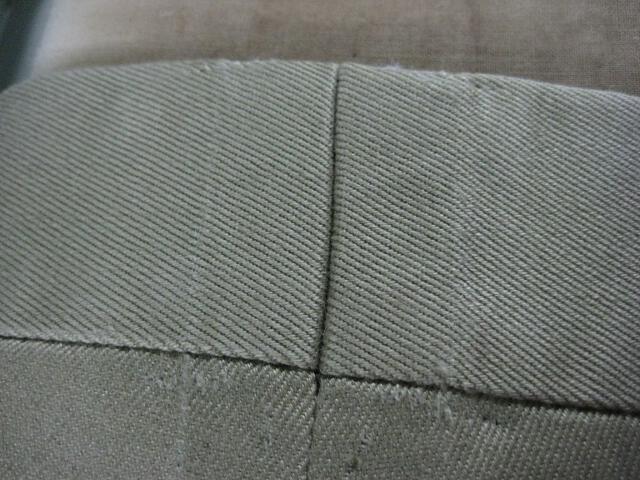
The right side of the mens dress pants should look like this. See how one side of the horizontal seam is exactly matched to the other at the center? This attention to detail will show that you are a professional.

Chart Two: Finishing Touches

Mens dress pants
STEP ELEVEN
With the waistband still extended,turn the pants to the right side and see how well the seams match. If they are off a lot, rip and redo. Leave it alone if it is minor and will be covered by the beltloop.
Mens dress pants
STEP TWELVE


Here is the view of the inside. Finger press this seam open. Then fold it down. Make sure the top edge is even. Make sure the seam allowance is flat.
Mens dress pants
STEP THIRTEEN


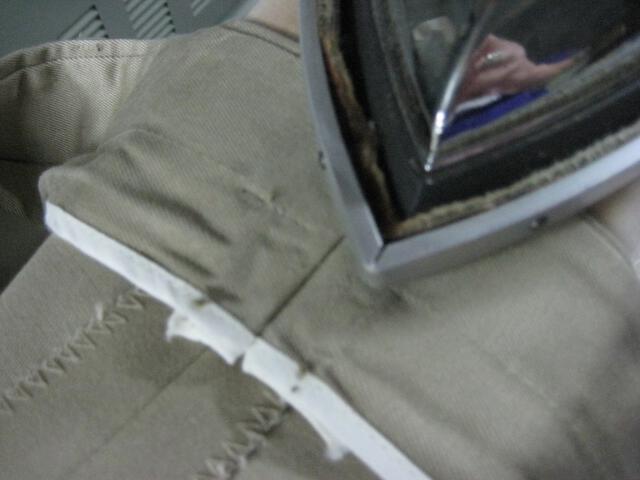
Press the waistband down. Then press the center back seam open. Turn the pants to the right side and press the new seam.
Mens dress pants
STEP FOURTEEN
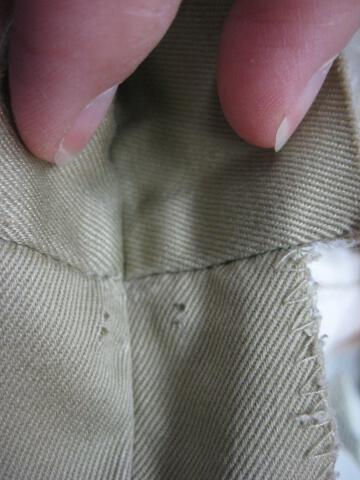
Most mens dress pants fabric will easily press the old needle marks out. Maybe not with khakis. If the original seam line remains visible, take them to a dry cleaner for a good steaming.
Mens dress pants
STEP FIFTEEN
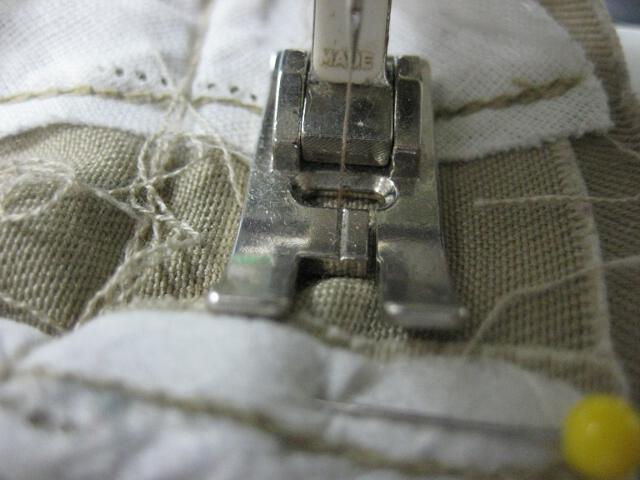
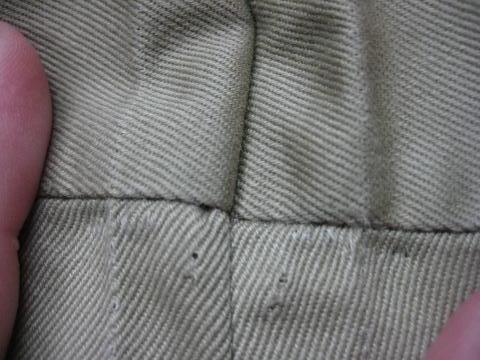
To secure the seam allowance, "stitch in the ditch" of the seam where the waistband meets the seat of the pants. Be careful not to catch the waistband fabric.
Mens dress pants
STEP SIXTEEN

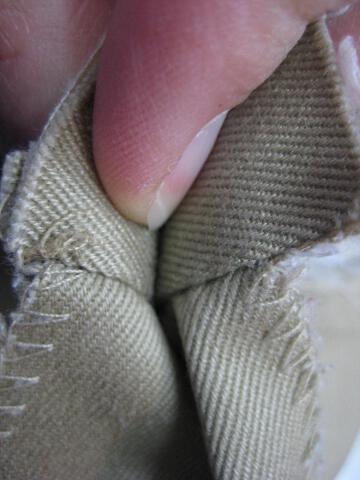
Here is the area after it has been stitched. In order to make these stitches hidden, you may need to use both hands to spread the two fabrics apart from each other .
Mens dress pants
STEP SEVENTEEN

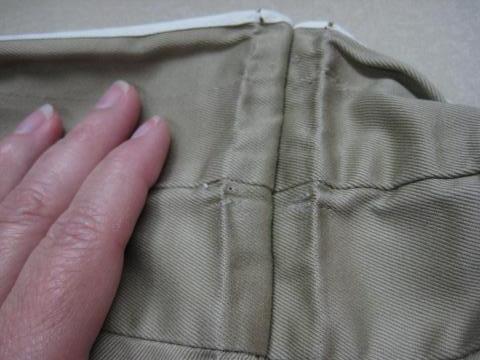
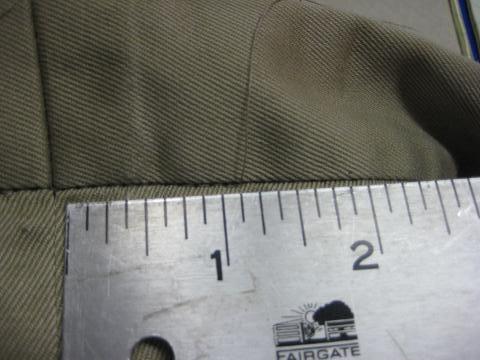
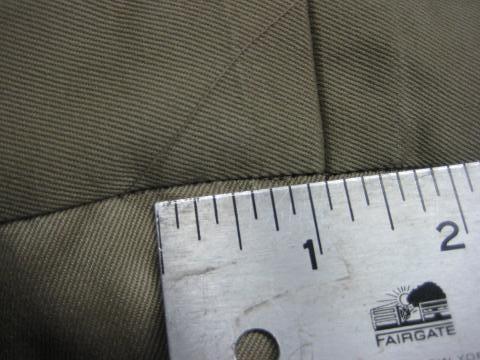
These next two photos show a detail that is often overlooked. Make sure your stitches in the ditch start and end the same distance from the center back seam.
Mens dress pants
STEP EIGHTEEN


Here the stitches are about an inch and an eighth on either side of the seam.
Mens dress pants
STEP NINETEEN


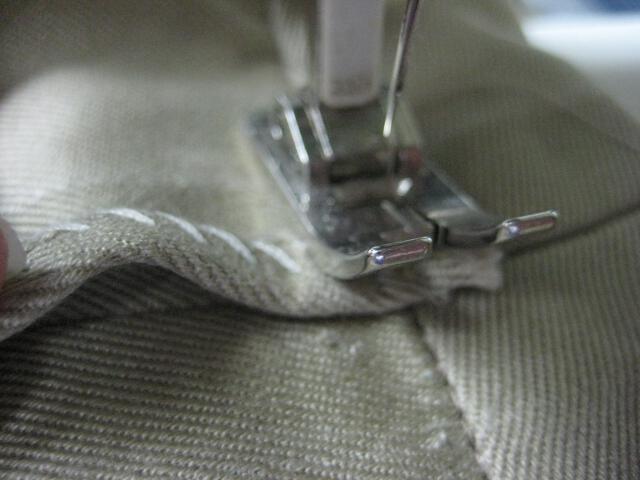
Time to put the beltloop back. Begin with the bottom edge and sew it, right sides together, on the bottom edge of the waistband.
Mens dress pants
STEP TWENTY
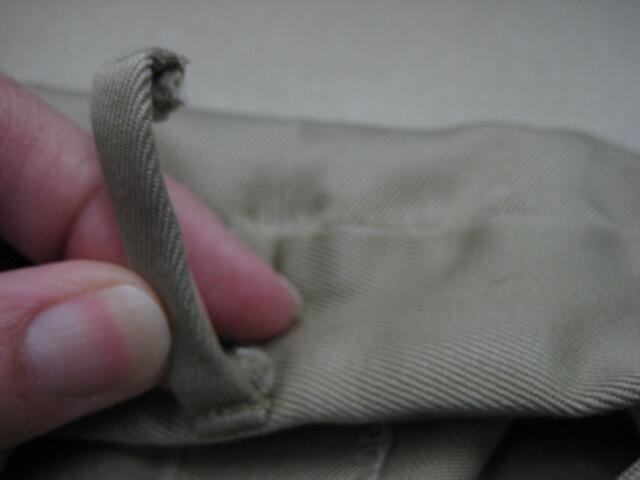
Now attach the top edge. You should leave it folded the same way it was when you removed it. Use a straight stitch and go back and forth many times. Beltloops get a lot of stress.
Mens dress pants
STEP TWENTY ONE

Here is the close up of the finished product. Make sure to leave some slack in the bletloop when you attach the top section. It allows the belt to go through smoothly.

In Closing...

Mens dress pants are among the easiest garments to alter. They are made to be adjusted. The male body doesn't have near the amount of curves that the female does, so the design lines are straighter and standard in most male garments.
If you are new to alterations, doing this one will really boost your confidence. Just remember to get that horizontal waistband seam to match up when you are pinning and you'll be home free.

Return from Mens Dress Pants to Alterations Home Page