Take in Waist Pleats to Give Your Skirt a Better Fit
To take in waist pleats on a skirt does not use a lot of sewing skill. Once you get the hang of it, you'll be able to extend the life of those school uniforms and cheerleading outfits as well as keep them fitting properly.
You'll need to do a little math to start with, so grab a ruler and a pencil and paper and let's get started!
Here's What we Need to Question:
- How much does the skirt need to come in?
- How many pleats are we going to alter?
- What kind of pleats are we working with?
Here's How We Answer Those Questions:
- Put the skirt on. With thumb and forefinger, pinch out enough of the waistband that the skirt feels comfortable. Write down that number. We'll call it the Total Amount.
- If you want to take the full amount in the front only, count those pleats. If you want it to come out of the back only, count those pleats. In this case we have counted all the pleats.
- The uniform skirt in this tutorial has inverted pleats (This is the easiest skirt to take in waist pleats). Yours also may be accordion or box pleats.
Tools You Will Need to Take in Waist Pleats on Any Skirt...
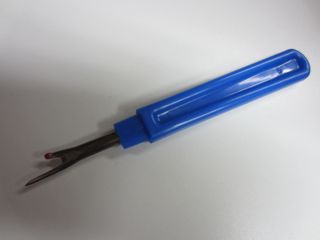
|
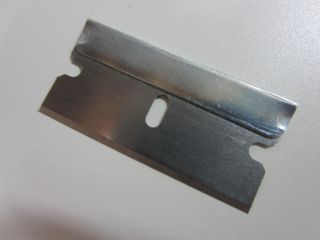
|
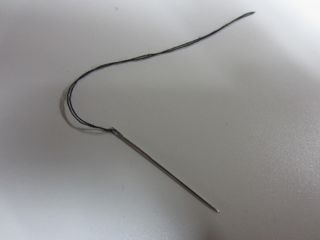
|
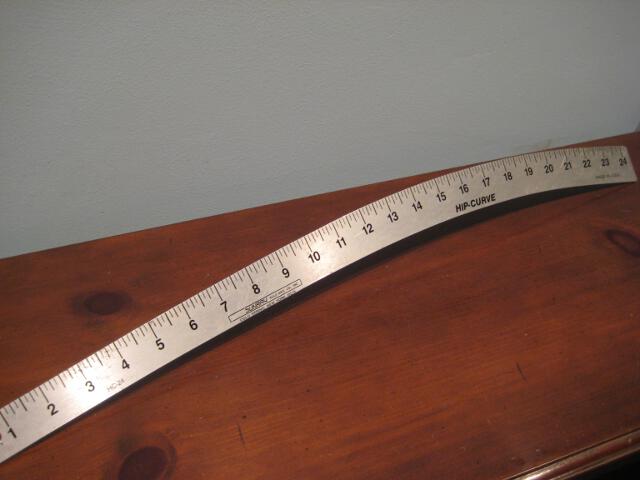
|
|
|
|
|
|
|
And now for the math! We'll do it in 3 steps. 1. What is the Total Amount? 2. Divide the Total Amount by the number of pleats you are taking in. 3. Take your answer for #2 and divide it in half. That's it! Here's an example: 1. I want to take my skirt in 2" 2. I am taking in 4 pleats. 2 divided by 4 is 1/2. Each pleat gets taken in 1/2" 3. Since the pleat has 2 sides, I divide 1/2" by 2 and get 1/4" Each side of each pleat gets take in 1/4" |
A Note About the Terms I've Used...
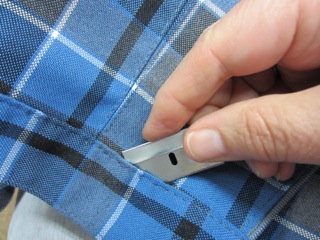
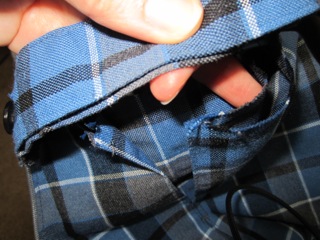
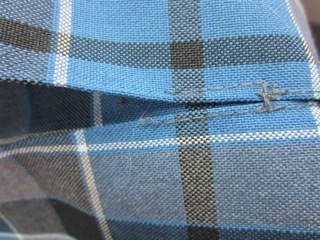
There are not too many technical words associated with learning how to take in waist pleats. It may help you to know these terms, though...
|
|
|
|
|
|
|
|
|
|
|
|
|
|
|
|
|
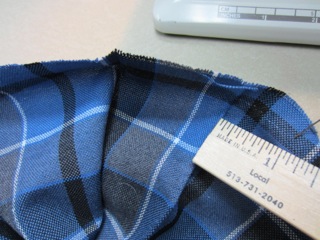
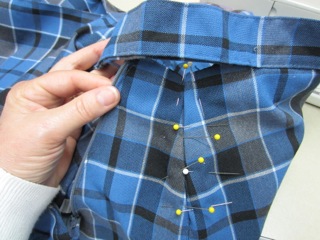
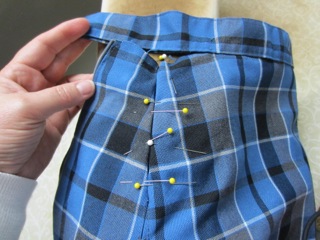
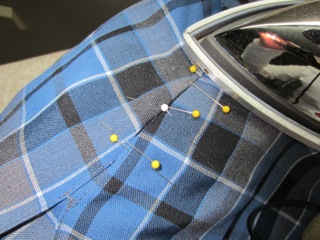
The full view here shows that the skirt will lay smoothly. There are no puckers. Lay this on your sleeve board so you can shape the curve with some steam. |
|
|
|
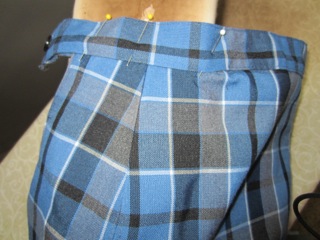
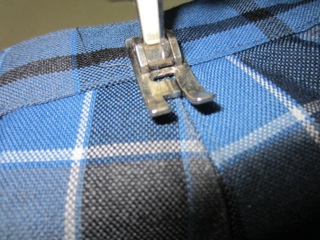
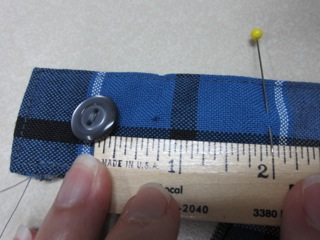
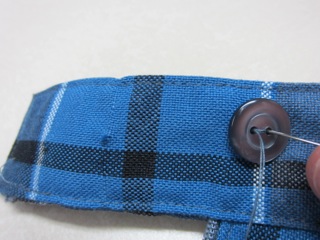
Attach the waistband to the skirt using pins. Maintain the curve. Stitch, right side up, catching the under side of the band as you sew. |
|
|
|
|
|
|
Now once we got the math calculations out of the way, that wasn't so difficult, was it?
Often, when you first look at a project like this it looks impossible. The first thing you need to do is to is observe the problem. Once you figure out the first step, it is much easier to move on to completion. To take in waist pleats on a skirt of any kind has more to do with taking off the waistband and repositioning it. The key is getting a good measurement for the waistband. If the pleats don't exactly match each other, it will not show.